Editing a post in WordPress with Elementor is a simple process:
01. Log in to your WordPress dashboard and navigate to the "Posts" section.
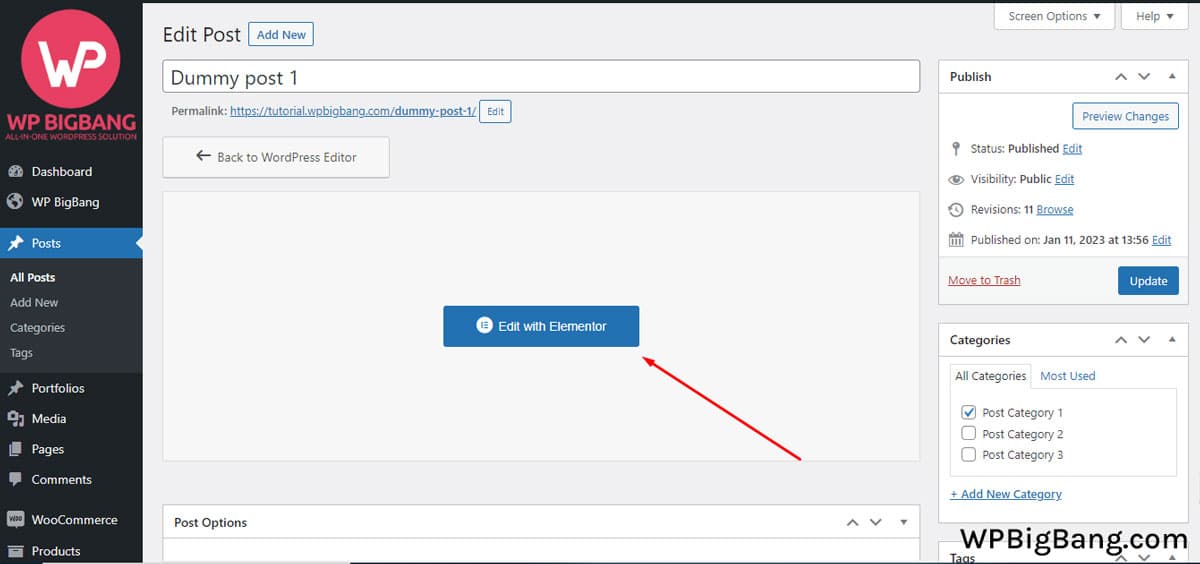
02. Find the post that you want to edit, and hover over its title to reveal the "Edit" link. Click on it.
03. In the post editor, you'll see a button labeled "Edit with Elementor". Click on it.
04. Elementor's front-end editor will open, displaying the post in a live preview mode. You'll see several sections such as Design, Style, and Layout, that allow you to customize your post.
Use the drag-and-drop editor to add, remove, or rearrange elements on your post. You can also use the icons on the left sidebar to add new elements, such as text, images, or buttons.
05. You can use the settings panel on the right side to edit the styling and layout of the elements you've added.
06. Once you have finished editing the post, click on the "Update" button on the bottom left corner of the screen.
If you want to make more advanced changes, you can access the Theme Builder by clicking on the “Theme Builder” button in the bottom left corner, which allows you to customize templates for different parts of your website.
It’s important to note that you will need the Elementor Pro to access the Theme Builder, and that you should backup your site before making any changes.